Improper website migration can result in prolonged downtime and data loss.
ISPConfig and cPanel do not have the same website directory structure. And, this often becomes a road block in cPanel ISPConfig migration.
At 1 onlyhost, we often get requests from our customers to transfer cPanel accounts to ISPConfig as part of our Server Migration Services.
Today, we’ll see how our Migration Engineers migrate cPanel accounts to ISPConfig manually and fix related errors.
Challenges in cPanel to ISPConfig migration
First of all, let’s take a look on the major challenges in cPanel to ISPConfig migration.
Unfortunately, the websites in cPanel and ISPConfig have their files at different location. For example, in cPanel, the site is served from the folder /home/user/public_html. But, in ISPConfig, the website contents lies at /var/www/www.domain.com.
Similarly, the database name format also differs in ISPConfig. The naming of a database in cPanel will be of the format username_db_name. As a result, the direct backup and restore from cPanel or WHM will not be feasible here.
Furthermore, there is no readily available tool for cPanel ISPConfig migration. Hence, our Migration Specialists always choose manual method for cPanel ISPConfig migration. In every migration, we proactively lower the dns TTL value of the domain to 15 minutes or lower. Thus, the website points to the new IP immediately after migration.
How we migrate websites from cPanel to ISPConfig
Now, let’s see how our Support Engineers migrate websites from cPanel to ISPConfig.
1. Initially, we login to the cPanel control panel and create cPanel backup via Backup Wizard option. Once the download the backup to the server, a notification email will send the given Email address.
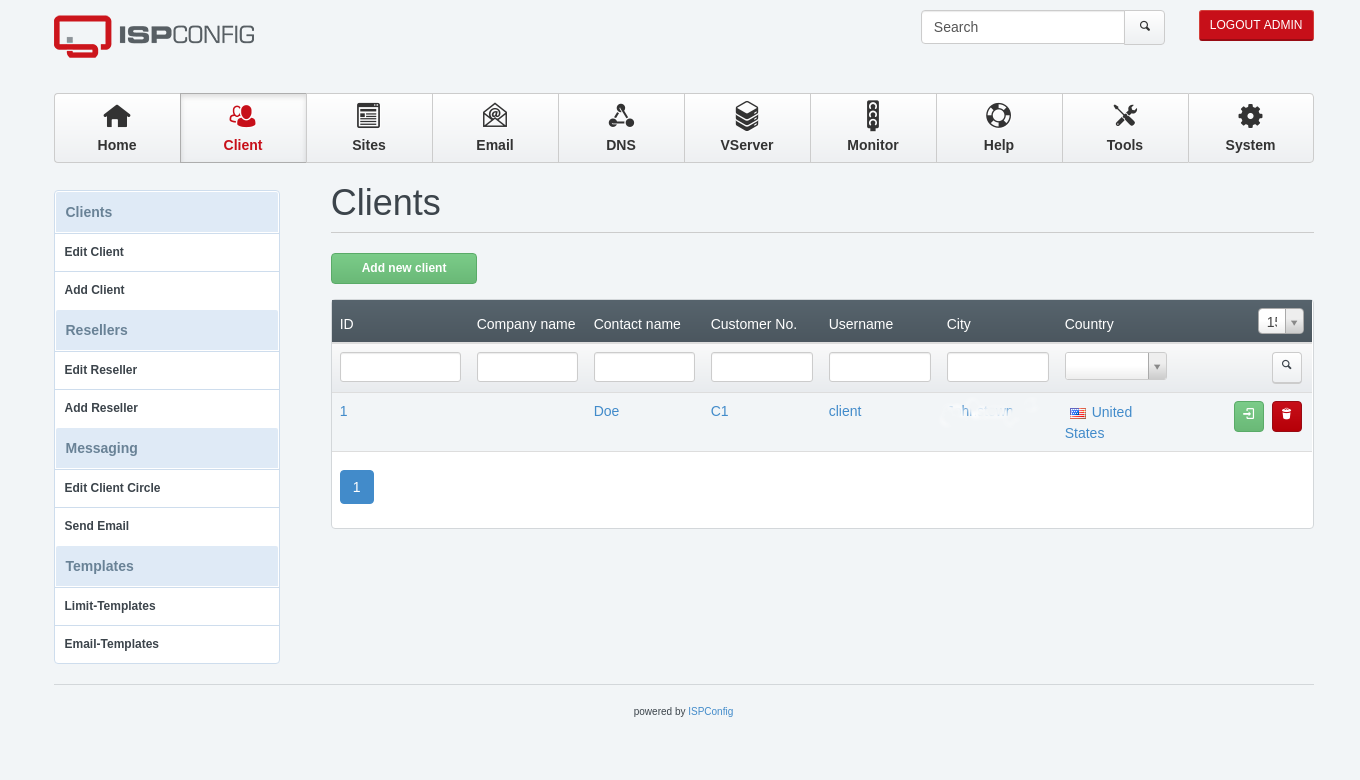
2. Then, we login to ISPConfig dashboard and click on the Client tab > click the Add new client button to add the client details like name, company name, contact name, username, password and so on.

3. We click the Save button.
4. Next, we add the website information in ISPConfig, for that, we click on the Sites tab > Add new website button and fill the fields like Select Client, Domain, Traffic Quota, Hard disk Quota and etc.
5. Also, we click the Save button.
6. After that, we set up a Shell-User. So, we click on Add new Shell-User from the left side menu. And, we fill the following field too. Finally, we click the Save button.
- Type in the client name with no spaces.
- Enter Password.
- Repeat Password.
- Quota.
- Shell Root should be set to None.
7. Again, we login into the server as a root user and we download the backup and extract the contents of the website using:
tar -xvf homedir.tarThen, we copy the contents of the public_html folder to the website directory at /var/www/www.domain.com. Additionally, we set the ownership and permissions on the ISPConfig server user.
Alternatively, in case of single accounts, compressing public_html via cPanel’s File Manager to zip also works.
Migration of database and emails
Now, the next step is to restore the database associated with the domain. For that, we create a new database for the website and import the sql into that database with the following syntax.
mysql -u [username] -p [database name] < [dataImport.sql]Next, we edit the Config File to update the new database name, new username, and password.
In addition, we use Imapsync to copy mailboxes from cPanel server to ISPConfig server.
In every migration, it is necessary to match up the existing PHP, web server settings on the new server. After migrating the accounts, we do a preview check of the domain using a temporary URL.
Afterwards, when everything is working from the new ISPConfig server, we do the DNS cut over.
How we fixed error while migrating the cPanel server
From our experience in managing servers, we’ve seen customers facing problems while migrating cPanel accounts to ISPConfig.
Now let’s see how our Migration Engineers fixed the top errors.
1. Missing PHP modules
Recently, one of our customers had a problem while migrating a website to ISPConfig. When creating the first client, it generated this error,
[WARN] SOAP ERROR in API call (client_add): Call to undefined function dl()
On checking, our Migration Engineers found that destination server didn’t have Ioncube modules.
So, we installed Ioncube on the destination server and fixed the problem.
In addition, some customers have a mysql mode enabled that is not compatible with ISPConfig. That’s why it blocks from adding a new client in ISPConfig.
Therefore, we made changes in the configuration file my.cnf as follows.
sql_mode should be:
sql_mode=NO_ENGINE_SUBSTITUTIONOur Migration Specialists always proactively check the source and destination server software versions and make them match each other. Thus, it avoid such incompatibility errors.
2. Incorrect permission and ownership
Similarly, customers may experience website errors when the old server is migrated to the new server. Mainly, this may happen due to incorrect permission and ownership of directories or files that set up in the destination server.
Normally, the default file permission should be 644 and the directory should be 755.
So, our Migration Experts always check the files and directory permissions and ownership. So, we make sure it doesn’t affect the migration as well. If there are wrong permissions, we correct them and make the website work.
[Having difficulty in migrating websites to ISPConfig? We’ll fix it for you.]
Conclusion
In short, ISPConfig is an open-source control panel providing the fastest migration platform. Today, we saw how our Migration Engineers do ISPConfig cPanel migration without website downtime and fix related errors.


